Tuesday 31 December 2013

neer dosa


YUM YUM YUM YUM YUM!!! One of my fantastic customers had in invited me over for tea one day, after a day in the salon. Masala dosa has always been an all time winner for me, but I just couldn't emagine what she was she was trying to explain to me during that day. She explained that these dosa are REALLY something special! They are soft and lacy, with a delicate flavour, made from rice and a hint of coconut. "I will cook them for you later". Because I have turned down a few offers before I thought to myself that I must try this time. I suppose that I have turned down offers to learn how to cook authentic food before out of shyness and not wanting to put people out, but she insisted and I knew that it would make her happy. Well once I had tried these little folded pieces of joy, I was just hooked instantly!

We had a lovely chat and a catch up while we were waiting for the rice to soak. She dressed me up in her sarees and jewellery and I have never felt like such a princess before! This has been a regular treat for me when I go to visit her, but I wont bore you with that story now lol :-)

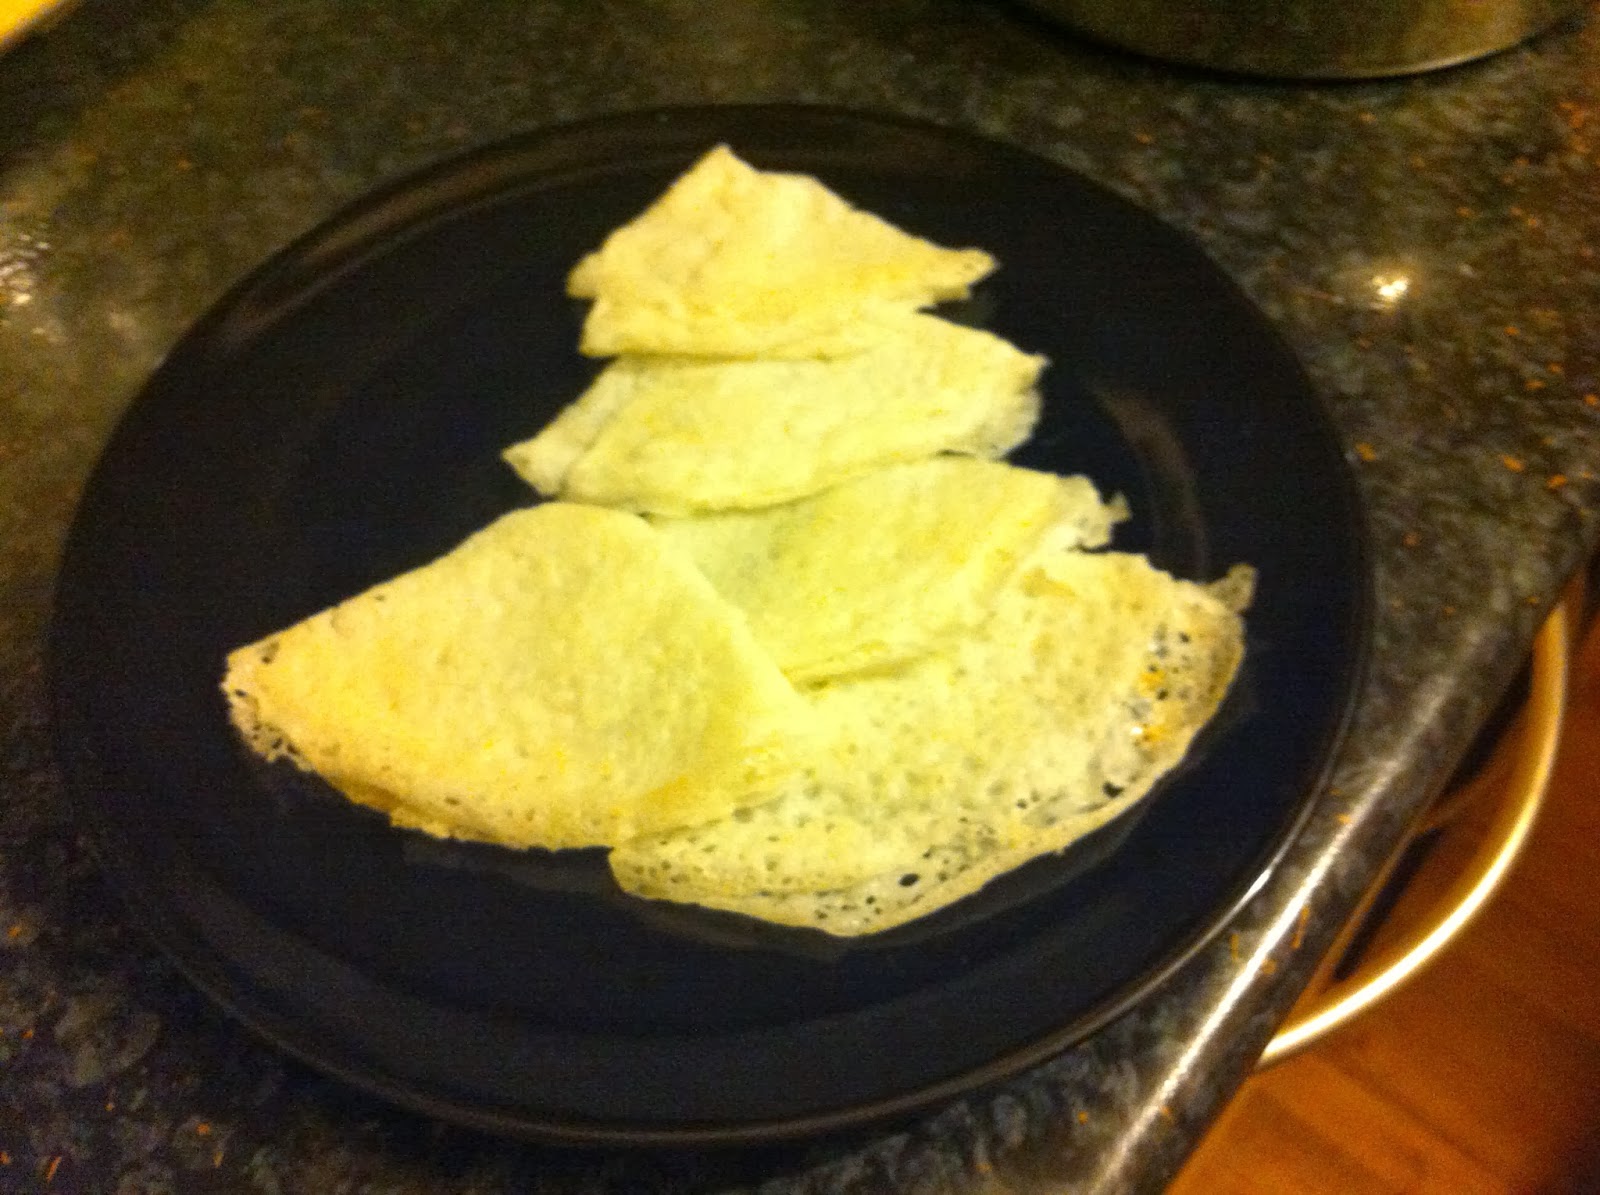
the picture above shows the true colour of the dosa. The picture below is a good close up of the lacy texture, but they look yellow because I took that picture in my kitchen late at night and the light wasn't very good :-S
Ingredients:-

1 cup of sona masuri rice, but any medium grain will do. I have even used basmati and it works fine.
1/4 cup of grated coconut,
in total, approximately 1 1/4 cups of water. more or less may be needed.
3/4 tsp salt or to taste.

Directions:-

1) Wash and soak the rice in enough cold water. My friend on the day soaked the rice for an hour in warm water, but for best results soak in cool water for at least 4 hours, or even over night.

2) Drain the rice and grind with the coconut and some fresh water in a blender until very, very smooth..you will just need to add a little water at a time and also remember to give you blender a rest in between grinding, otherwise it might over heat and go into meltdown! :) To test if you have the batter thin enough and fine enough, check on the back of a spoon. if the batter clings to the spoon, it is too thick. If you batter has grit in it, it hasn't been ground enough. Add the salt. The Picture below shows how the batter doesn't cling to the spoon at all. That is why the dosa is called "neer dosa" It translates into "water dosa"


3) To cook the dosa, you will need a relatively  new non-stick pan, with a tight fitting lid. heat the pan over a medium to low heat. splash a few drops of water, just to check if the pan is hot enough. If it sizzles and evaporates straight the way, then the pan is ready.

4) Pour a few drops of oil onto the pan and grease the pan with some kitchen paper and drop some of the batter onto the frying pan, but you need to kind of tilt the pan to spread a thin even layer.

5) With the back of a teaspoon, drop a few drops of oil in and around the dosa, paying particular attention to the edges. Put the lid on the pan and cook for 1-3 minutes. You don't want the dosa to be burned, but you need the dosa to be cooked.

6) Once the dosa is cooked, using a spatula, loosen the edges and fold into quarters.

Serve this melt in you mouth dish as an an accompaniment to curry with a sauce like sambhar, or enjoy plain with chutney or pickle. In the top picture, I have had it with chole. Enjoy and let me know what you think?    :-)


Sunday 29 December 2013

King Prawn Cheong Fun with photo tutorial


mmmm cheong fun................ im sure that it is one of your must haves at the dim sum restaurant? Well, it definitely is mine!!

Indian food is my all time favourite, but sometimes you need a break from all of the complex  flavours and just need something nice and plain and simple. Cheong fun is one of those dishes that I crave at times like this! I have had this dish many times in restaurants, but if you have the time, then it is well worth making it yourself.

If you are not familiar with this dish, I could best explain it as a noodle roll with whatever filling is on offer, but my favourite filling is king prawn by far!!!!

It has taken me many attempts to make cheong fun with a smooth and silky texture, but if you follow my recipe, you will be sure to get some success!! Let me know what you think?

I forgot to mention how healthy it is too. It is steamed and the only oil you will need is some oil to grease your trays and a few drops of sesame oil in the sauce for flavour. And not forgetting how nutritious prawns are anyway.


Ingredients:-


165g rice flour,
3 tbs wheat starch,
2 tbs tapioca starch,
200 ml cold water,
300 ml boiling water,
just a touch over 1/2tsp salt
25/35 fresh king prawns or gambas.
1 tsp bicarbonate of soda

sauce ingredients:-

5tbs light soy sauce,
1/4 tsp sesame oil,
2 tbs water,
2 tbs sugar

Directions:-

If you know that you are starting to get a craving for some cheong fun, then I would do this part ahead of time like the day before, or that morning.

1) Prepare a steamer for the rice flour. The rice flour needs to be cooked before hand. this gives the cheong fun a nice silky texture.

2) Sieve the rice flour into a heat proof bowl ( preferably metal ) and cover tightly with cling film as so that the flour keeps completely dry during the steaming process. Steam the flour with a lid, on a medium heat for about 45 minutes.

3) Once the time has gone, remove the flour and let it cool slightly, before you sift the flour again. Once the rice flour is cooked, it should be quite hard.

4) While the rice flour is cooking, de-vein and butterfly the prawns, thoroughly dry them and put them in a container or a non metallic bowl and sprinkle on the soda bicarb. massage in thoroughly. leave to marinate, in the fridge for at least an hour. the longer that you do this, the more tender but crisp the prawns turn out.

5) At this point, boil the kettle for the boiling water and mix all of the other ingredients for the batter thoroughly. Add the cold water slowly ensuring that there are no lumps. Then slowly mix in the boiling water and leave in a warm place for about 1 hour-1,1/2 hours.

6) Set up the largest sauce pan that you have and if you have a steamer then great, but just make sure that you have enough trays that fit into your steamer. my trays don't fit inside my steamer, so this is why I do it this way. First, fill up your large pan or wok even and place it on to boil on a medium to high heat. Place a steamer stand or a metal bowl or something in the middle of the sauce pan. This is to act as an elevation stand or platform for your tray. Grease your trays.

7) Once the water is boiling, place one of the trays onto the platform to get hot, stir the batter well again, because rice flour has a tendency to settle at the bottom. Thoroughly rinse and dry the prawns.

8)Once the tray is hot, ladle a small amount onto it and tilt the tray around as to spread a thin even layer of the batter.

9) Steam for 3 minutes and then remove the lid and place 3 prawns slightly to the side. Steam for another 2 minutes. Leave the tray to cool completely before trying to roll.

10) Repeat the process for the rest of the batter in rotation.

11) Take a spoon or a spatula and loosen the sides of the cheong fun away from the edge of the tray. Very gently roll the noodle sheet over the prawns once, then fold in the edges, then continue to roll.  Place the finished roll to one side on a plate and continue to roll the other rolls.

For the sauce:-

Mix all of the ingredients together ensuring that all of the sugar has dissolved. Taste to test the balance of the sugar salt and sesame oil.


Serve the cheong fun hot with the sauce pored over the top.

Please, let me know what you think?